


Wardrobes
A built-in wardrobe fills the wall from floor to ceiling, so there is no gap above to collect dust and no wasted space beside it. Valmont draws the door widths so they read evenly across the run, sets the hanging and shelving behind them to what you store, and scribes the end panels to the wall on site. Every part is made and finished in our own shop.
On the drawings, and on the quote.
- 01Elevations and a photorealistic rendering with door widths set out evenly
- 02Tall units to the ceiling with a scribe rail that closes the gap
- 03Hanging rails, adjustable shelves and drawer banks behind the doors
- 04Hinged, sliding or pocket doors depending on the room in front
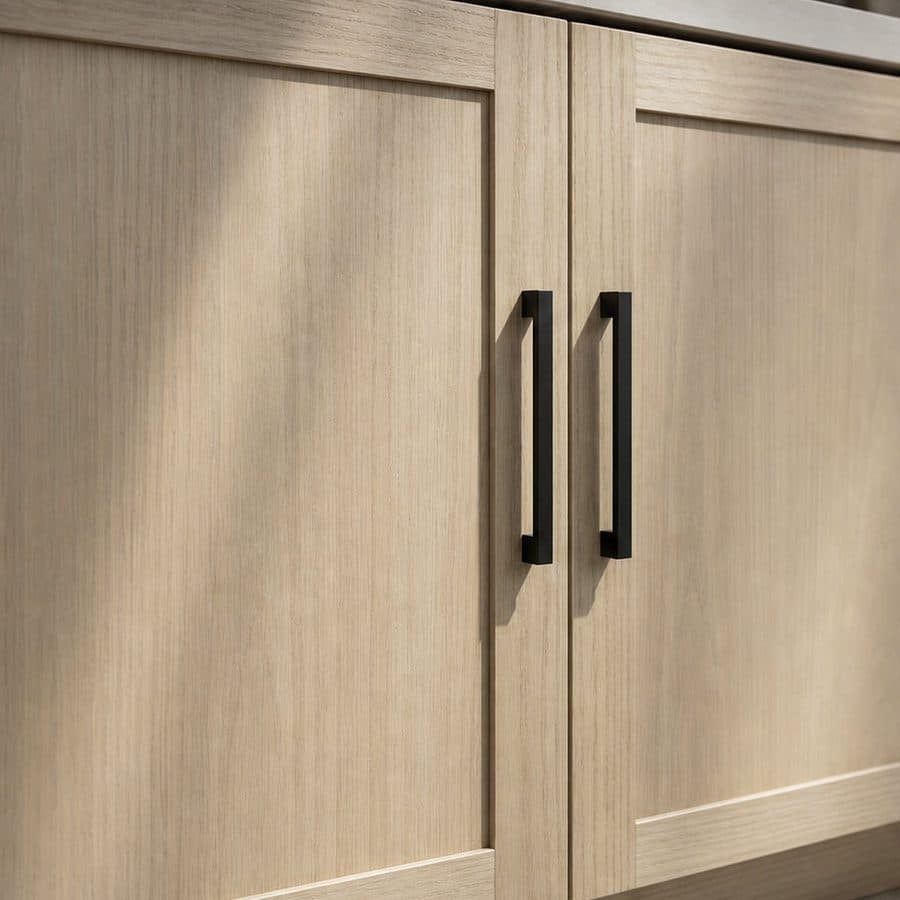
- 05Integrated pulls machined into the door, or hardware you choose
- 06Scribed end panels, fillers and a plinth cut to an uneven floor
No figures published. The drivers, in order.
| Driver | What we look at |
|---|---|
| Door type | Hinged doors need swing space and are the simplest to build; sliding and pocket doors bring track hardware and tighter tolerances. |
| Run width and door count | Door widths are set so the run reads evenly, and an extra door means another set of hinges, another front and another alignment. |
| Ceiling height and scribe | Running to a ceiling that is out of level means a scribe rail and careful fitting rather than a standard top cap. |
| Interior fit-out | Rails and shelves are quick; drawer banks, trays and internal lighting each add shop hours behind the same set of doors. |
You get an itemized quote off the drawings, with the carcasses, the doors and the interior fit-out on their own lines so nothing is buried in a single figure. Read the cost guide.
Measure, draw, quote, build, install.
The five steps in full, with the walkthrough you see before we build.
Step 01 is a measure of the wall, the ceiling and the floor, since all three are usually out by a little. We check the door swing in the room, the light switch, and how much clear floor you need in front. Step 02 is elevations and a photorealistic rendering inside [n] days, with the door widths already set out.
Step 03 is the itemized quote from those drawings. Step 04 is shop build: carcasses, doors and drawer fronts cut, edged and finished in our shop, integrated pulls machined where you want them, and every run dry-fitted on the bench so the door gaps are set before delivery. Shop time is [n] weeks.
Step 05 is delivery and install. Carcasses are levelled on the plinth, the scribe rail is cut to the ceiling, end panels and fillers are scribed to the wall, and doors are hung and adjusted until every gap matches. Install is [n] days, and we return to fine tune the hinges once the doors have settled.
Asked before the first call.
Hinged or sliding doors?
Hinged doors give you the whole opening at once and are easier to keep aligned, but they need swing space. Sliding doors suit a narrow room where a swing would hit the bed, at the cost of never seeing more than half the wardrobe.
Why run the wardrobe to the ceiling?
A gap above a wardrobe collects dust and gives you storage you cannot reach. Running to the ceiling with a scribe rail closes it, makes the wall read taller, and turns the top section into seasonal storage behind the same doors.
What if the ceiling is not level?
Most are not. The carcass is built slightly short and a scribe rail is cut to follow the ceiling line, so the wardrobe stays square while the fit stays tight. We measure the ceiling at several points at step 01 to know how much to allow.
Can a wardrobe be removed if we move house?
It is built in, fixed to the wall and scribed to the room, so it is designed to stay. Taking one out means damaging the scribes and the wall behind it, and it will not fit another room without rework.
Can you match a wardrobe to a bedroom door or trim?
Yes. Bring a sample or leave a spare piece for the shop and we match the colour and sheen against it, confirming with you before the finish is sprayed. Matching an aged painted trim is close rather than exact, and we will tell you which.