


Feature walls
A feature wall is millwork, not a finish rolled onto drywall, and it lives or dies on the setting out. Valmont works the flute or slat spacing so the rhythm lands correctly at both ends, then carries it around returns, over a headboard or up a stair wall. Where a door sits in the wall, the leaf is made from the same panel so it disappears into the pattern.
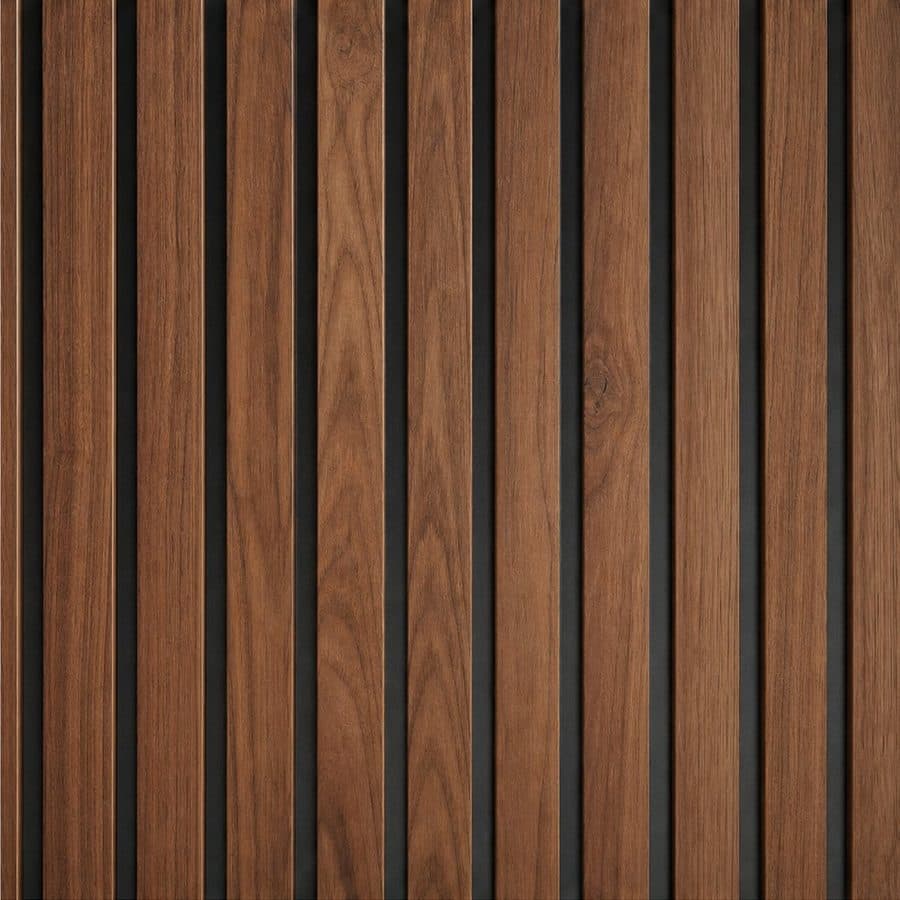
On the drawings, and on the quote.
- 01A setting-out drawing showing where every flute or slat lands, plus a rendering
- 02Fluted or slat panels made in our shop in sequence-matched veneer or paint
- 03Concealed doors with the pattern carried across the leaf and the reveal kept constant
- 04Returns, reveals and a shadow gap at floor and ceiling
- 05Headboard sections with the height set against the bed and the outlets
- 06Stair wall panels scribed to the string and the treads
No figures published. The drivers, in order.
| Driver | What we look at |
|---|---|
| Wall area and returns | A flat wall is straight panelling; every return, reveal and outside corner is a mitre that has to keep the rhythm running. |
| Flute or slat profile | A fine flute means more machining per square foot than a wide slat, and a curved profile takes longer again. |
| Concealed doors in the panel | A door hidden in the rhythm needs a hidden hinge, a pivot or a touch latch, plus a leaf built to stay flat over time. |
| Material and veneer matching | Sequence-matched veneer has to be laid out across the whole wall before cutting, which is more shop planning than a painted panel. |
Each wall is quoted on its own line off the setting-out drawing, so the panelling, the concealed door and the returns are all visible as separate items. Read the cost guide.
Measure, draw, quote, build, install.
The five steps in full, with the walkthrough you see before we build.
Step 01 is a measure of the wall itself: height, plumb, outlets, switches, vents and where the baseboard and ceiling meet it. Step 02 is a setting-out drawing plus a photorealistic rendering, inside [n] days, showing where each flute or slat lands so the pattern finishes correctly at both ends rather than in a half slat.
Step 03 is the itemized quote. Step 04 is shop build. Panels are cut, edged and finished here, veneer is laid out in sequence across the wall before anything is cut, and any concealed door leaf is built and hung on the bench so the reveal is already even. Shop time is [n] weeks depending on area.
Step 05 is install. Panels go up against a checked substrate, the shadow gaps at floor and ceiling are held constant, and the concealed door is adjusted until the reveal reads the same top to bottom. Install runs [n] days on a typical wall, with a return visit after the room has settled.
Asked before the first call.
How do you hide a door in a slat wall?
The leaf is made from the same panel, so the slats run straight across it, and the joint sits in a gap between slats where the eye already expects a line. A hidden hinge or pivot keeps the face clean and a touch latch removes the handle.
What happens where the pattern meets a corner?
The setting out decides it. We plan the spacing so the wall ends on a full flute or slat at both sides, and any adjustment is absorbed in a reveal at the corner rather than in a visibly narrow last piece.
Can outlets and switches sit in a fluted wall?
Yes, and they look best when the setting out puts them in a flat section or centred on a slat. We record every plate at the measure so the positions are drawn in at step 02 and the electrician can extend the boxes to the new face.
Will a wood slat wall move with the seasons?
Wood moves with humidity, so panels are built with that in mind and the shadow gaps at floor and ceiling give the wall room. Keep indoor humidity steady through the year. [Kam confirms the warranty term on panelling.]
Can panelling go over an existing painted wall?
Usually yes, once the substrate is checked for plumb and sound fixing. A bowed wall is packed and levelled first, because a slat wall shows every deviation across its length. We assess that at the measure, not on install day.
How do you clean a fluted wall?
A soft brush attachment along the flutes, then a dry microfibre cloth. Avoid wet cleaning on veneer. A vertical flute collects far less dust than people expect, since there is no horizontal ledge for it to settle on.